Landscape Photography With a Wide Angle Lens
Landscape photography with a wide angle lens: practical advice on foregrounds, camera position, edge composition, focus, aperture, and exposure.
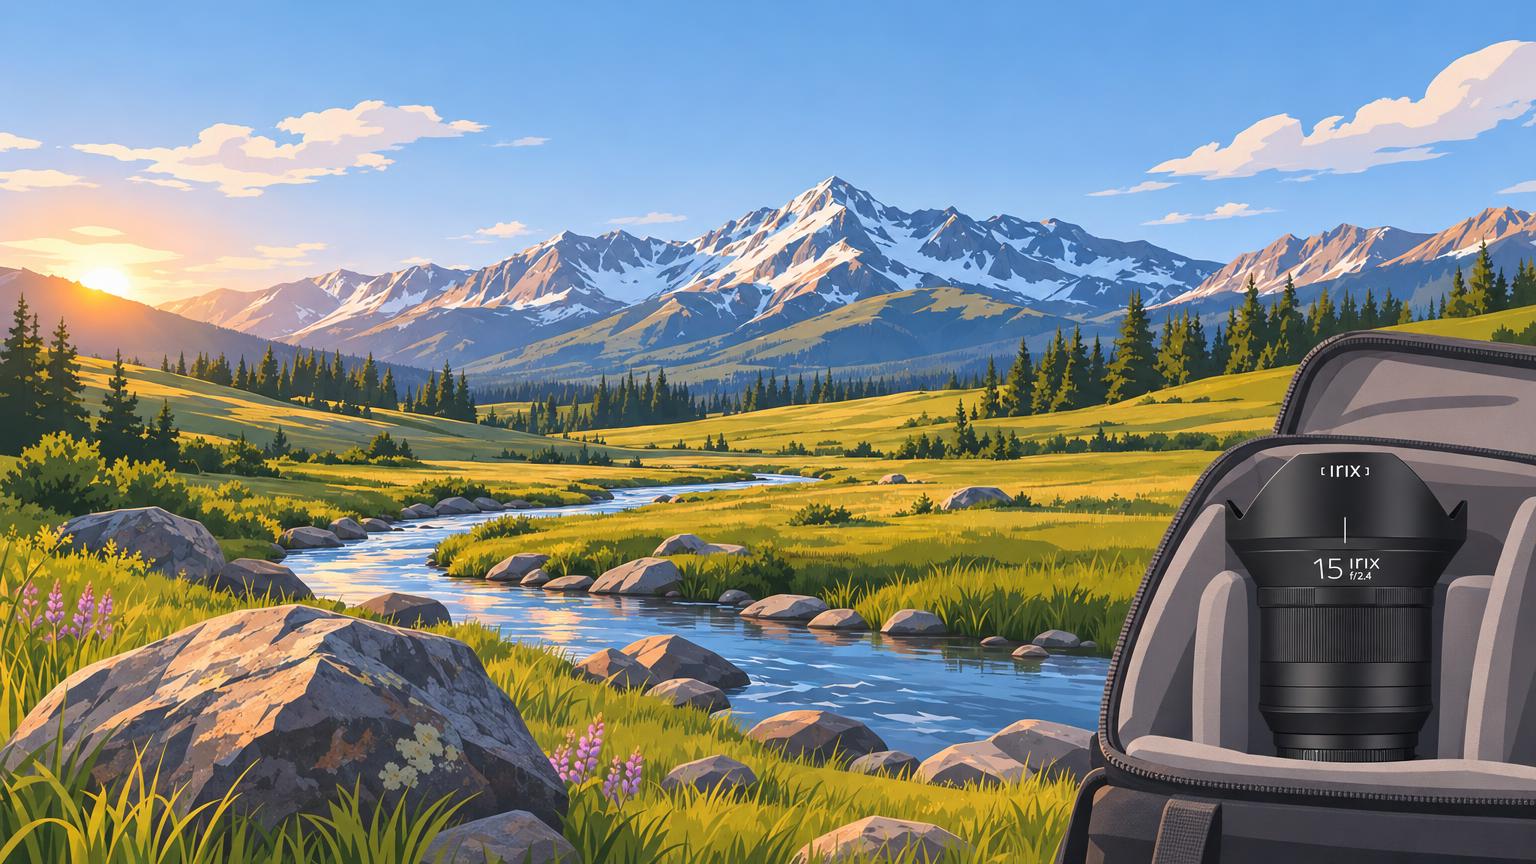
Build a wide-angle landscape around a clear subject, then move the camera to control how the foreground relates to the distance. A wide-angle lens records a broad view, letting you connect a nearby rock or stream with faraway mountains. That coverage also makes it easier to include distractions or give an unimportant foreground too much space.
Set the composition before settling on focus. Then check the nearest important detail and the distant subject in a test photograph. Infinity focus, a small aperture, and a close foreground are choices—not requirements for every landscape.
What makes a wide-angle landscape work?

A strong wide-angle landscape gives the viewer something to notice and a reason to explore the surroundings. The subject might be a mountain, a lone tree, or the shape of a shoreline. The rest of the frame should strengthen that subject rather than compete with it.
A foreground earns its place through its shape, texture, color, or connection to the distance. A stream can lead toward a mountain; a repeating pattern of rocks can link the foreground and middle ground. But a line that leads into an uninteresting patch of land doesn't become useful simply because it's a leading line.
You don't always need something close to the lens. An open expanse of water or sky can make a small subject feel isolated. The distinction is whether that space contributes to the photograph. Likewise, a centered subject can work when its placement is deliberate; dividing every scene into thirds isn't a substitute for judging the arrangement.
How does camera position change a landscape?

Camera position controls the size relationship between nearby and distant objects. Focal length controls framing from a given position. Moving closer to a foreground rock can make it much larger relative to a distant mountain, even though the mountain changes little in apparent size.
Say you're photographing a curving stream below a mountain ridge. Moving close to a rock beside the stream can give the picture a strong starting point. Move too close, though, and the rock may dominate while the ridge becomes incidental. If the mountains attracted you in the first place, keep checking whether they still carry enough visual weight.
Camera height changes the connection between layers. A low viewpoint can emphasize a foreground shape and hide distracting ground behind it. It can also hide the bend in the stream that connects the foreground to the mountains. Raising the camera may reveal that connection. Compare both heights rather than assuming that lower is always better.
A sideways adjustment changes overlaps. Try it when a foreground outline merges with a tree, a ridge, or another rock. Moving the camera and tilting it aren't interchangeable: one changes your viewpoint; the other changes the direction you're looking from that viewpoint.
Move closer when you want the foreground to matter more. Raise the camera when you need to see how it connects to the distance.
What should you check at the edges?
Check the entire perimeter before making the exposure, not just the subject in the center. A broad view can include a distraction that was easy to miss while you were concentrating on the mountain or the light.
Look for:
- Foreground shapes cut awkwardly by the bottom or side of the frame.
- Bright patches, stray branches, or partial objects that pull attention outward.
- Your shadow or a tripod leg entering the picture.
- Rounded forms near extreme corners that look noticeably stretched.
Different geometric effects call for different responses. Pointing the camera up or down can make vertical lines converge, even when those lines remain straight. A leaning tree caused by camera tilt isn't the same problem as a straight scene line rendered with optical curvature.
Rectilinear rendering is designed to preserve straight lines, but three-dimensional objects near the margins can still look elongated. If a recognizable rock or other rounded form looks awkward at a corner, try reframing it farther inward. A correction profile can't replace the viewpoint you should have used at capture.
Landscape photographs don't have to be horizontal, either. A vertical frame may connect a close foreground to a waterfall, tall trees, or a rising sequence of landscape features more effectively. Judge the shape of the scene rather than the name of the genre.
Where should you focus for a landscape?
Focus for the nearest and farthest details you want to retain, rather than automatically turning the ring to infinity. Infinity focus can leave nearby foreground outside the range of acceptable sharpness; focusing too close can sacrifice the distance.
For many near–far landscapes, f/8–f/11 is a useful starting range. Inspect the result before deciding whether you need a smaller opening. Stopping down increases depth of field, but diffraction can reduce fine detail, so the highest f-number isn't automatically the sharpest choice. A smaller opening can still be a sensible compromise when you need more depth in one exposure.
Aperture changes depth of field even when focus distance stays fixed:
"But, as the diaphragms open, the depth of field gets much smaller." — Alberto Bouzón, photographer and Irix Ambassador, in Irix USA's depth-of-field demonstration
In that demonstration, Bouzón keeps focus at 1 meter while changing the aperture to f/11. The focus ring hasn't moved, but the range of acceptable sharpness changes.
Is hyperfocal focus better than infinity focus?
Hyperfocal focusing is useful when you want infinity acceptably sharp while extending sharpness toward the camera. Under the conventional depth-of-field calculation, its near limit is approximately half the hyperfocal distance.
Treat that as a starting estimate, not a promise of identical fine detail at every distance. Check the nearest important texture and the distant subject at magnification in a test photograph. If one is too soft, adjust focus, aperture, or camera position before deciding that you need multiple frames.
An Irix choice for deliberate landscape work
For photographers who want to set focus carefully and retain it between exposures, we recommend the Irix 15mm f/2.4 Blackstone for Canon EF. Its rectilinear rendering suits landscapes built around clear lines, while its manual-focusing aids support deliberate near–far compositions.
Infinity Click gives you a tactile infinity reference, and focus lock helps retain the distance you've established. The depth-of-field and hyperfocal scales help you plan focus before checking the captured image. Reinforced full-metal construction and weather sealing are practical features for outdoor work.
The Canon EF version supports full-frame and APS-C use. On APS-C, you record a narrower portion of the lens's image; the focal length remains 15mm. That framing difference matters when deciding how much foreground and surrounding scenery to include.
Do you need a focus stack?
You don't need a focus stack when one exposure delivers the detail the photograph requires. Stacking becomes useful when an important close foreground and distant subject can't both meet your sharpness target in a single frame—and the scene is stable enough to combine exposures.
Hyperfocal focusing is still a single-frame focusing method. Focus stacking combines photographs made at different focus distances.
| What the scene requires | A useful approach | What to check |
| Important details already fit within one frame's depth of field | Use a single exposure | Inspect the critical details at magnification. |
| Nearby detail and infinity both need acceptable sharpness | Try hyperfocal focus in one exposure | Verify the near limit and distant subject in the captured file. |
| A close foreground and distant subject exceed single-frame sharpness, and the scene is stable | Make a focus stack | Keep framing and aperture consistent, with overlapping sharp ranges. |
| Wind keeps moving nearby vegetation | Favor a workable single-frame compromise | Consider a less-close foreground, a smaller aperture, or a quieter moment. |
For a stack, each photograph needs a sharp range that overlaps the next. Stabilize the camera, keep the composition and aperture consistent, and change focus until every required distance has a sharp source frame. Either near-to-far or far-to-near capture can work; complete coverage matters more than the direction.
The Irix 15mm f/2.4 Blackstone's depth-of-field scale starts at f/8, so it doesn't provide engraved intervals for wider apertures. Use the scale to help plan overlapping coverage, then confirm that coverage in the photographs. There's no fixed frame count that fits every foreground distance and aperture.
A tripod steadies the camera. It can't keep windblown leaves in the same place between frames.
A faster shutter speed can reduce blur within each exposure without making moving objects line up across the sequence. After applying consistent processing, aligning, and blending the frames, inspect the result for soft patches and artifacts around overlapping shapes and moving subjects.
How do light and shutter speed change the scene?
Light changes which parts of a wide landscape attract attention. Side light can reveal texture through highlights and shadows, giving a foreground surface more shape. Watch for warm light around sunrise and sunset, but also for changing weather that shifts emphasis within the scene.
Choose shutter speed for the motion you want to record. A shorter exposure can preserve detail in moving foliage. A longer exposure can blur surf or clouds into shapes that become part of the composition. Neither treatment is automatically more effective; the useful choice depends on whether that movement supports your subject.
When is an ND filter useful?
An ND filter is useful when you want a longer exposure but would otherwise overexpose the photograph at your intended aperture and ISO. For the Irix 15mm f/2.4 Blackstone for Canon EF, the Irix Edge ND32 95mm matches the lens's 95mm front filter thread and provides a five-stop reduction in light.
Say your unfiltered exposure is 1/8 second. With aperture, ISO, and illumination unchanged, a five-stop reduction multiplies exposure time by 32, giving 4 seconds. That's an exposure calculation, not a prediction of the water's appearance; the texture you record also depends on how the water moves.
On your next shot, inspect the stream and nearby foliage in a test frame before extending the exposure further. The shutter speed that smooths the water may also blur the foreground detail you wanted to preserve.